I am not a seamstress. I can sew. A little. Sometimes I get ambitions and think that I can make really fun, whimsical things for my daughters.
Sometimes I can. Other times . . .i wing it.
This is my story:
I splurged on some ruffle fabric for my two year-old's birthday. It is a
little pricy, but when you consider the fact that someone else has
taken the time to make ruffles for you, the price might be worth it. It
runs about $15-$20. I got it from Ruffle Fabric(.com)
(and this is NOT a sponsored post)
This is what you need:
Sewing Machine
3 yards of tulle
1 yard of Ruffle Fabric
For necklace:
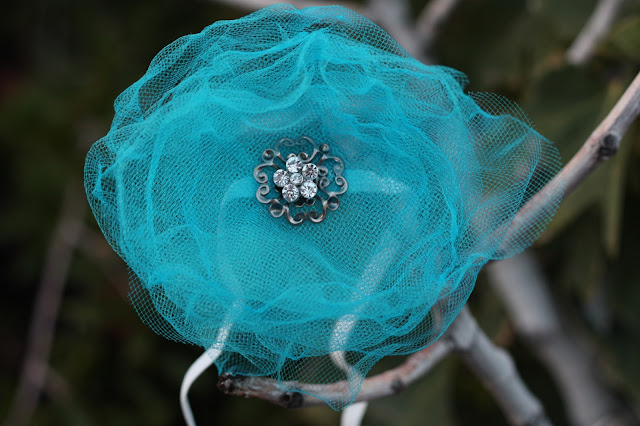
elastic, tulle, glue gun and decorative brad, matches, candle
What I like about tulle and ruffle fabric . . . no hemming!
Using my daughter's measurements, I cut the fabric 15 in in length and 6 in in width.
THIS WAS PART ONE OF MY MISTAKE: My little dog, Maddie tried to tell me that since the ruffle fabric stretches, I could subtract 3 inches so that it would fit snugly around my toddler and not fall down , but I never have been good at speaking dog, so I didn't listen.
The I cut the tulle to the length I wanted, 26 in long in 5 in strips. You can actually use more or less tulle depending on how full and fluffy you want the "skirt part."
This is the part 2 of my mistake.I pinned all the tulle to the base of the ruffle fabric and did not allow for any stretch. Meaning, even the the tulle fabric stretches, once you sew the tulle in, place it ceases to stretch. I should have allowed for 2 small slits. Once the dress was on, the slits would be invisible, but would allow for stretch. Or maybe one of you reading this will; have another solution you"l want to share with me.
Maybe I could have tapered the top so that is was more of an A-line, the top could have been snug and the tulle wouldn't have been tight . . .
Anyway, it wasn't so bad, but it won't grow with my girl for very long . . .
unless, I cut some small slits in the tulle now . . .
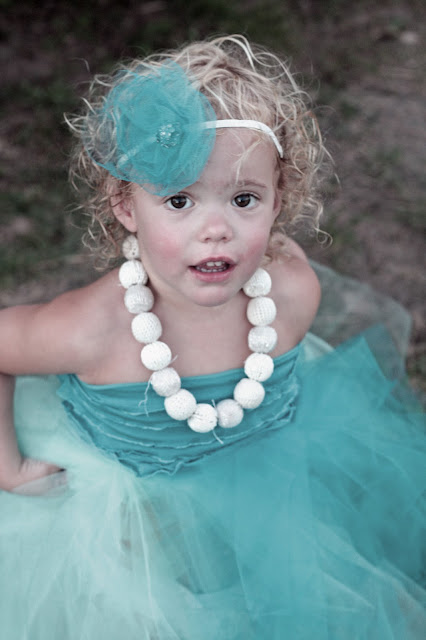
Anyhow . . . I sewed the tulle to the ruffle fabric and then sewed up the sides of the bodice of
ruffle fabric and got this:
It was fun . . .
Happy Crafting
XOXO,
Amy!


