I was in such a hurry to get out the door that my picture quality suffered a little bit, but you can get the general idea.


It really is easier than it sounds!


xoxo,
Amy

 Brown Paper Packages is one of the lovely blogs I follow (and you should too) and she did a post about these headbands and I wanted to try my hand at them because I thought: no.1 they looked cute and no. two they looked easy! Mine are slightly different from hers however and I'll show you what I mean below.
 I didn't want to use an elastic headband for my 8 and 6 year old so I opted for a soft plastic headband instead. I buy a special kind on line that don't cause any pain behind the ears so my kids actually don't mind headbands.
  I then proceed to attach the felt bows with sticky back Velcro. I added a little hot glue for added hold. The reason I did this is because I already have a drawer full of headbands and really didn't want to add more to it. The idea for me was to simply make the felt bow interchangeable.
 The other difference is that I simply used craft felt because it is what I had on hand and haven't the foggiest idea where to get better felt. It would most likely require a trip to a larger town:)
 That way I just had to change out the flowers to match outfits and when her head grew, I only had to replace one elastic headband.
 Front of the flower:
 Back of the flower!
 Happy Crafting!
 This project is so easy and I think when I am done using it at The Festival of Tress Boutique, I will put it in my girls' bedroom to display their hair clips on. You can so do this. It is way easy.
 I cut some branches from m y pomegranate tree, stripped the leaves and spray painted them white. After they dried, I simply put them in a large glass vase. I have some extra Styrofoam squares and I think I might try this again using them as a base.
 I was pleasantly surprised that my head bands actually hooked on to the branches. I thought I would just be able to use my clips, but the headbands worked too!
 Next . . .
 I made this skirt so that the flower embellishment was interchangeable. I took a flower hair clip that I had already made and added the pin onto the back of it. This way the skirt would be perfect for "black and orange day" (their semi Halloween celebration) at school and also for School Spirit Friday . . .
 which is black, green and white.
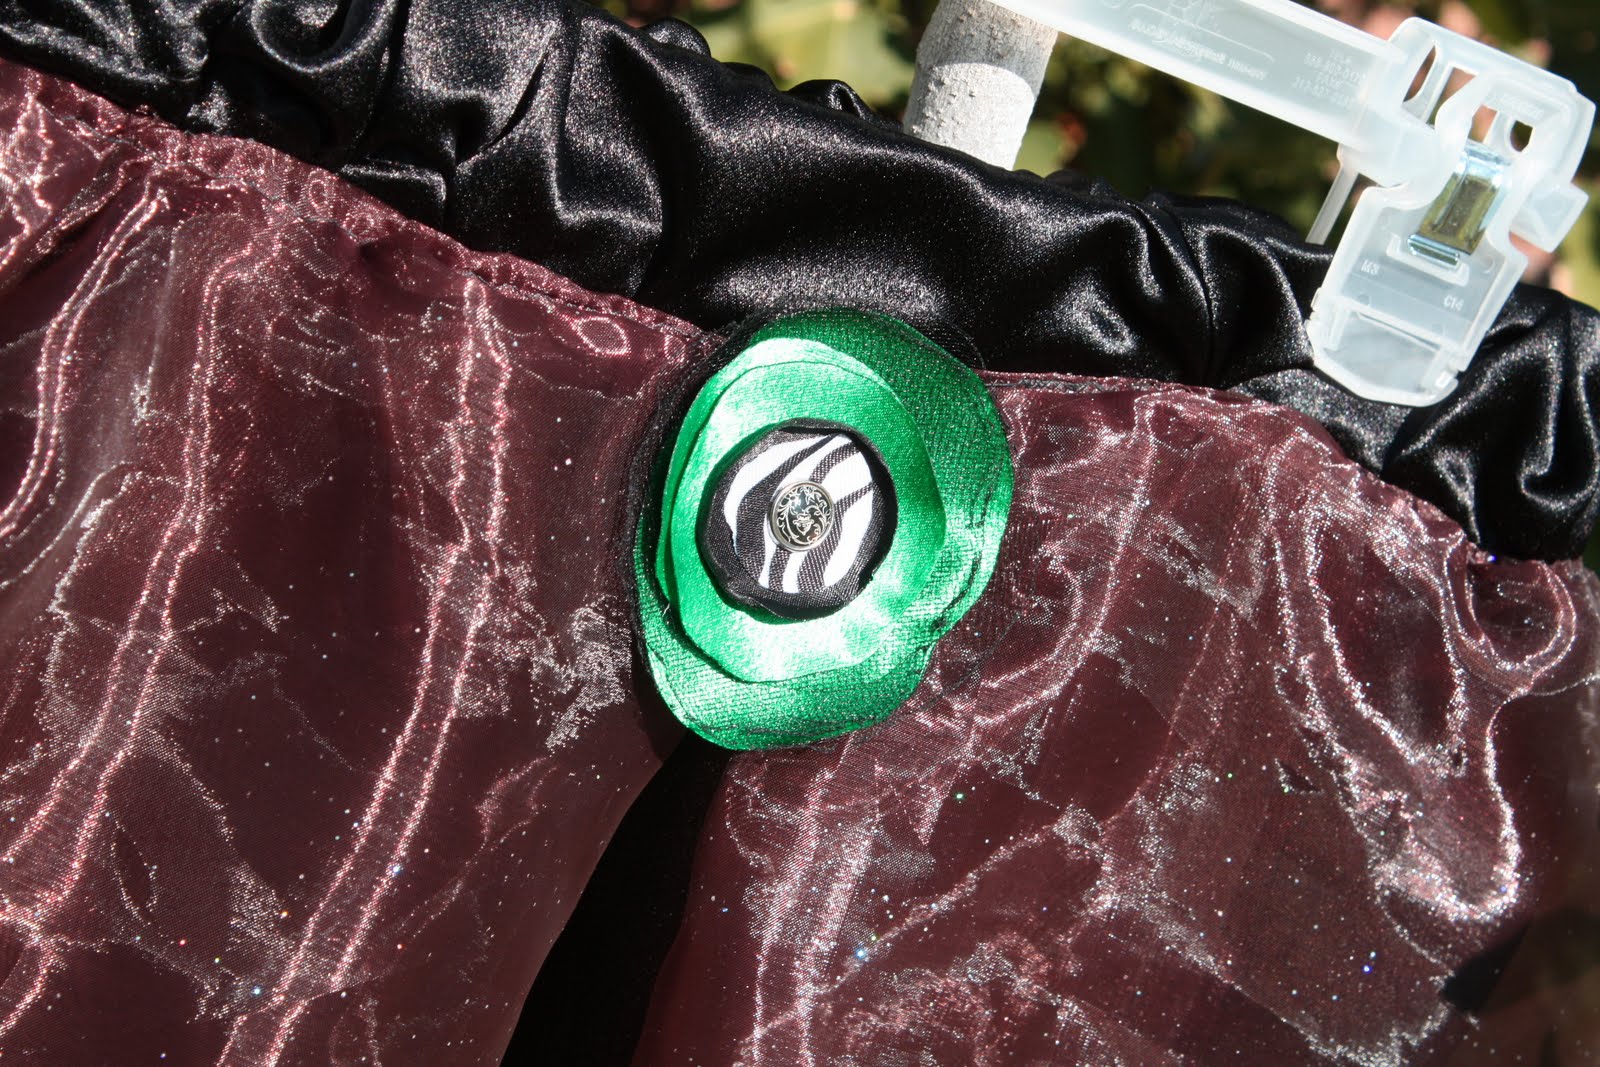
 Anyway . . . you get the idea!
 Since I make hair accessories, I was greatly inspired. I am getting ready for our little town's big event called "The Festival of Trees." It will take place November 9-12 and will have booths, entertainment and food. It is a great way to get into the Holiday spirit.
 You will nee gross grain ribbon, I used orange and black, dowels (Walmart craft section), wooden clothespins, aerosol hairspray and a cookie sheet. Preheat your oven to 250 degrees
 Spray with hairspray . . .

 They should look like this . . .
 Cut corkers in half (this make a large corker hair clip- for smaller corkers, cut in half and then in half again) and arrange them together, making sure you alternate colors in a pleasing pattern, separate in the middle, you can use clothespins to help you . . .
 Tie a ribbon of matching color (I used an orange corker) tightly in the center.
 Remove clothespins and fluff. I hot glued mine onto a hair clip. You could attach yours to a clip, a headband, a hat . . . whatevers:)
 You can make them any size and any color.
 Fun, fun!


