
Hi 24 Followers! I am so excited that we are just about at out half way point! Remember that beautiful "Cambria Rosette Headband" that we will give away when we hit 50 followers is waiting for you! But on another note, let me ask you this:
Are you ready for the FALL?
I am!
Summer was once my favorite time of the year.
I couldn't wait for the school year to end so that I could spend my days
splashing in the ocean waves and lying on the sand.
After I graduated from high school I went to college in Hawaii,
so my love for the surf and the sand only grew.
Now, I live in the desert.
The ocean is no where to be found and summer temps often rise above 110 degrees. In light of my new surroundings, Fall has grown on me considerably. I welcome the break from the summer heat and look forward to cooler days and nights.
So, I say, lets bring in the Fall by making cute placemats to eat yummy dinners on!
 Simple and easy!
 I was inspired by all of the burlap creations I had been seeing lately. I wanted to try to make a few different things but settled on these placemats.
You will need:
1.5 yards burlap (walmart has some so I am told)
Placemat to measure out your placemat size (12X16 inches)
brown grosgrain ribbon
green grosgrain ribbon
Sewing Machine (if you don't have a machine I will give an alternate tip)
needle
thread
Hot Glue Gun
(are you surprised there isn't any modge podge?)
1. First I laid out my burlap, put my placemat on and literally just cut around it.

This is what the first one looked like:

I did that six more times because that is how many are in my family:)
 2. I sewed a zigzag stitch with my machine all the way around the edges. It went really fast. But truth be told I have no idea if it will make a difference since I have never worked with burlap. If you don't have a machine: Get a hot glue gun and fold each of the four sides back and glue them down. It will look kind of like you hemmed the placemat. Experiment with your glue a bit because I think it might seep through to the other side of your burlap.
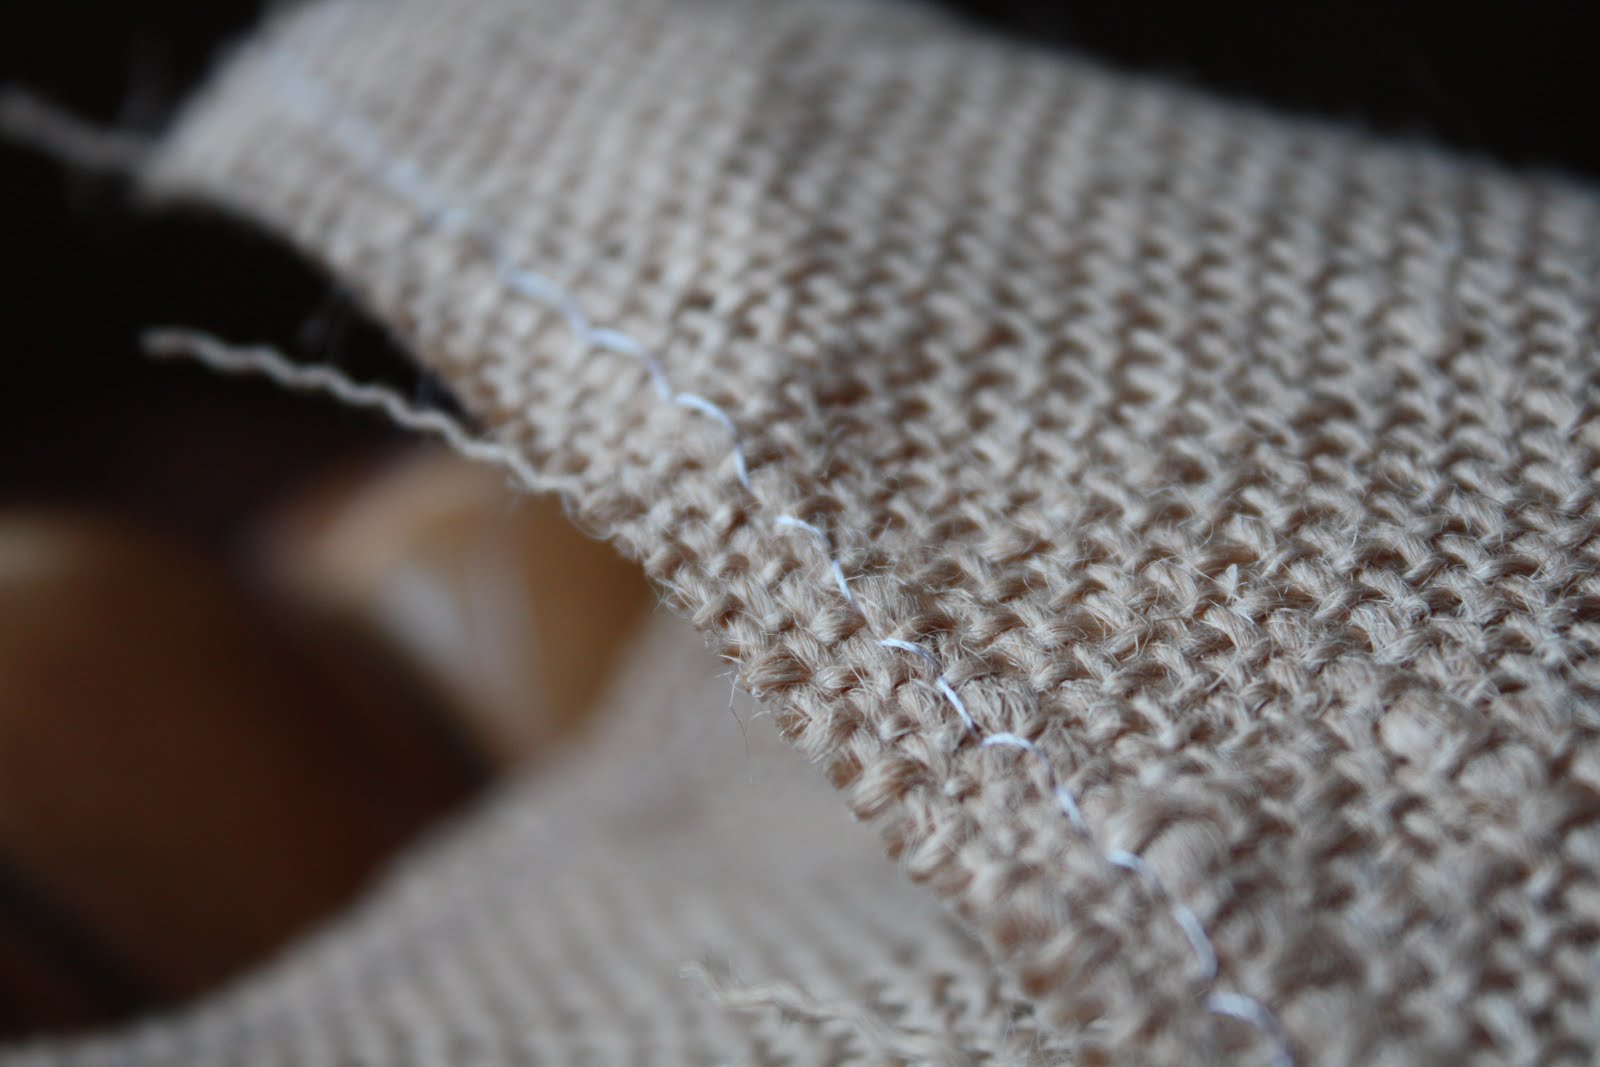 3. Next I used an oatmeal lid to measure out 6 orange circles from fabric I already had to make yo-yo flowers. Shanni gave a wonderful tutorial on this a few posts back.
Now I debated for quite awhile about what I wanted to put on these placemats. Did I want to paint a brown stripe? Did I want to glue ribbon? Did I want to cut out Fall leaves from felt? You could do any of those things and have a cute placemat. After much thought I decided I wanted to make a little pumpkin decal on each placemat.
 4. Next I cut of 6 strips of brown ribbon for the stem and tied 6 green bows with white polka dots ( I don't think these were grossgrain) I didn't measure, I just cut and tied.

6. At first I tried to sew the brown ribbon on the burlap but realized my attempts were futile. So I glued it in the upper right corner.
 7. Glued the yoyo flower on

8. Put a little glue on the "stem" to add my green bow.

And . . . voila! She is finished!

I just love how they turned out and so did my kids! I love how little, simple things can makes seasons and holidays seem more exciting!
 I would love to see yours!
 Happy Fall And Happy Crafting!
 4. Next I cut of 6 strips of brown ribbon for the stem and tied 6 green bows with white polka dots ( I don't think these were grossgrain) I didn't measure, I just cut and tied.
6. At first I tried to sew the brown ribbon on the burlap but realized my attempts were futile. So I glued it in the upper right corner.
 7. Glued the yoyo flower on
8. Put a little glue on the "stem" to add my green bow.

And . . . voila! She is finished!

I just love how they turned out and so did my kids! I love how little, simple things can makes seasons and holidays seem more exciting!
 I would love to see yours!
 Happy Fall And Happy Crafting!
xoxox, Amy
I totally fell! These are super adorable! I love the yo-yo pumpkins! You can do these for almost any holiday it seems. . . I'd like to see you do some cool Christmas ones next ;)
ReplyDelete