
Forgive me for I have sinned, I took pictures in poor lighting. Many pictures. And I plan to post them on my blog. Forgive me, please:)
This was such a massive project! I have an EIGHT foot long wall and EIGHT years of pictures that have been sitting and waiting for something to be done with them.
Enter Ambition.
I finally decided that it was time to hang my pictures on my wall. But I didn't want to put 80 holes in the wall in order to hang 28 pictures. So, I got this idea . . .
I used butcher paper for a template.
I had to tape a massive amount of it together to make it long enough. In hind sight I wish I had used wrapping paper or something was all one piece, but hindsight is always 20/20
I spread out the paper and taped it all together . . . those cute little legs belong to my one year old:) by the way.
 After I got my paper all situated and taped together (and put my two youngest to bed so that they would stop trying to run on my paper) I arranged my frames on the butcher paper the way I wanted to hang them on my wall. This took a surprising amount of time.
I decided to lay them out somewhat chronologically. I began with my hubby and I and then went to the next child and the next and so on. It became a very abbreviated story of our life.
 Once I had the frames where I wanted the, I traced around every single frame with a black marker so I would remember the placement. (I also took pictures so I could refer back to my camera- 28 pictures is a lot to keep track of)
Then I hung the butcher paper on the wall using push pins, you could use painters taper.

Then I hammered a nail in to the butcher paper. Pay attention to where the hanging bracket is on the back of your frame.
 Then I carefully removed the butcher paper leaving the nails in the wall

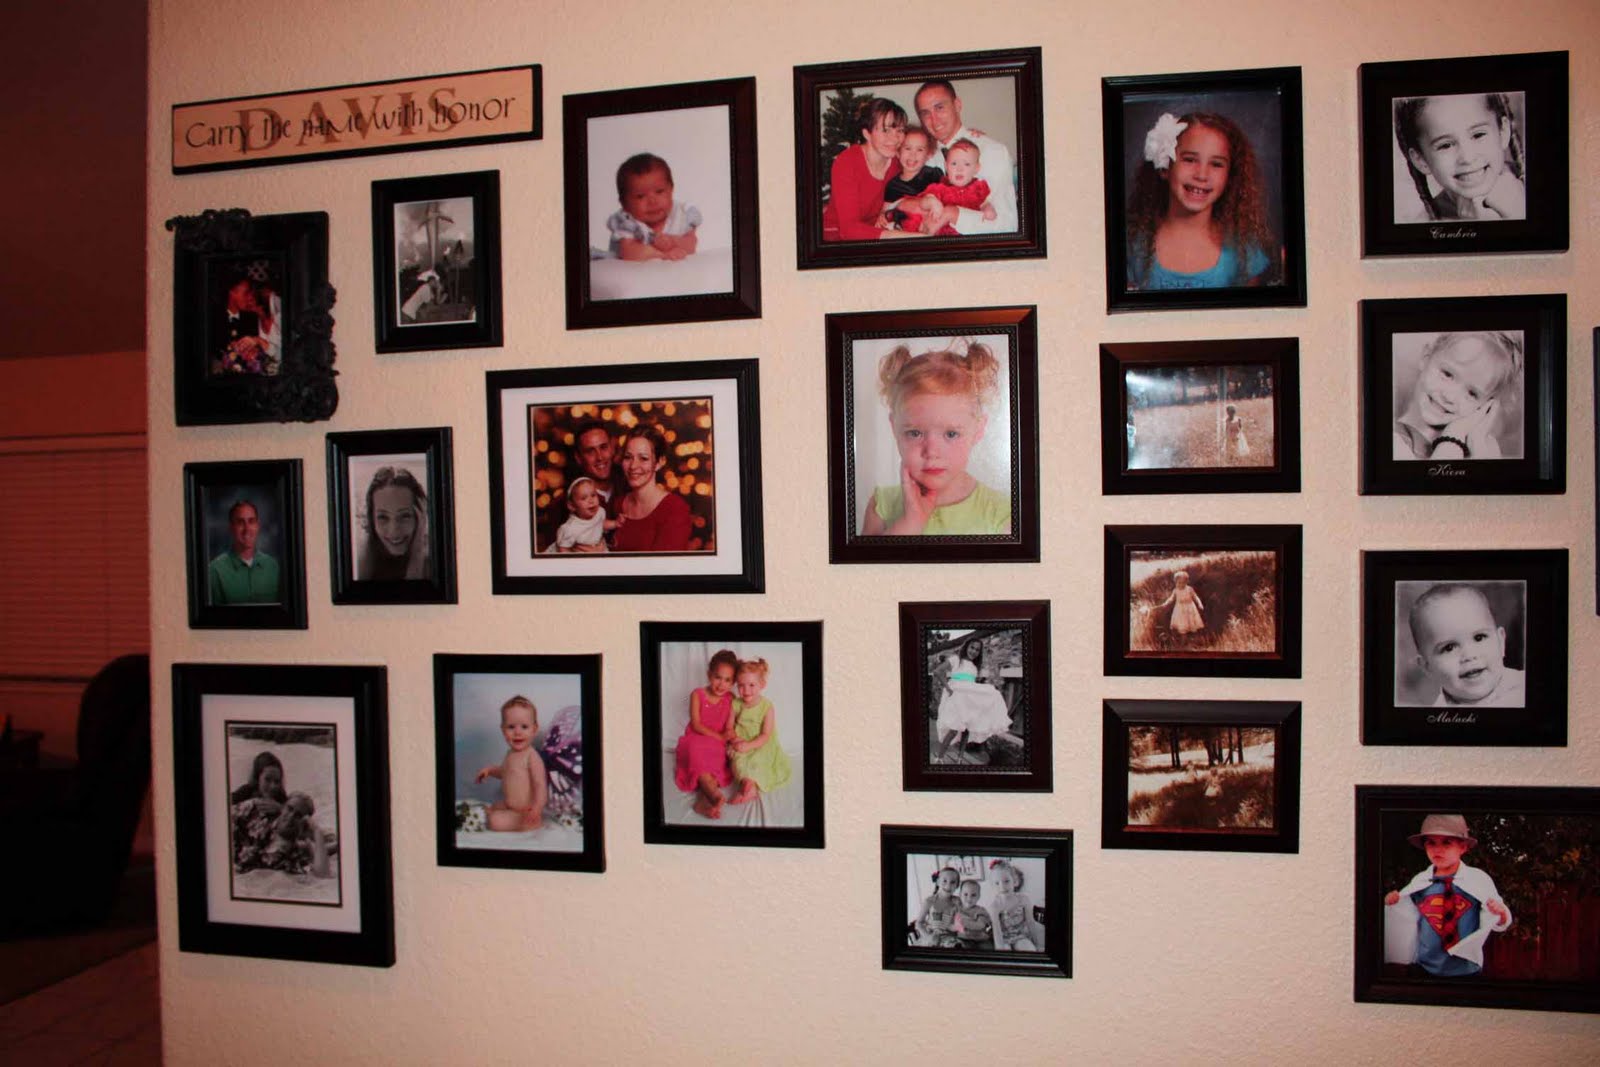
Then I hung my pictures with amazing speed! The longest part of the whole project was arranging the frames. Once I got the butcher paper up, everything was done in and hour.
 I love to walk down this hall now and my kids think it is so fun to see all of the pictures too!
 I hope this info can come in handy someday, eight foot wall or three foot wall, this is a great technique!

Then I hammered a nail in to the butcher paper. Pay attention to where the hanging bracket is on the back of your frame.
 Then I carefully removed the butcher paper leaving the nails in the wall
Then I hung my pictures with amazing speed! The longest part of the whole project was arranging the frames. Once I got the butcher paper up, everything was done in and hour.
 I love to walk down this hall now and my kids think it is so fun to see all of the pictures too!
 I hope this info can come in handy someday, eight foot wall or three foot wall, this is a great technique!
Happy Crafting!
xoxo, Amy
Great idea. This would have saved me so much time when I did my ancestor wall... next time :)
ReplyDeleteI love it!
ReplyDeleteOOOOOOOOoooooooOOOOO I can't wait to see the wall! It looks awesome :) What a good idea, I usually do the 80 hole thing. . . but this is a better idea!
ReplyDeleteI have been doing the paper taped to the wall thing a few times, but the addition of marking the holes on the paper made it so much easier. Thanks Amy, when I was taping my paper to the wall on Saturday I thought of you!
ReplyDelete