With that being said . . .
Being a mom of four I have been many sizes in my life. That means I go through a LOT of clothes! If you have been pregnant in the last five years or so you know that maternity clothes have gotten quite stylish and sometimes I find it hard to say good-bye to some of my cute outfits. But lucky for me I had an idea . . .
I convinced a fabulous photographer to do a photog class so that she could give me some tips on how to take a better picture. Well she agreed and she wanted to do the practice portion of our class shooting a "Victorian era" like tea party. I helped her collect props and design headbands and costumes for the event and it gave me a chance to use some of my beloved old clothes.
Case in point: cute shirt, cute skirt:
they went from this . . .

To this:

 I'll post some better pictures of the details later, but these two beautiful girls are my daughters. My skirt became a long dress (I measured my daughters chest and sewed in elastic that fit her measurements, then I added a really pretty rosette ribbon for straps- it is hidden under a cropped sweater in the picture- and it became a new dress. It was sew easy!)
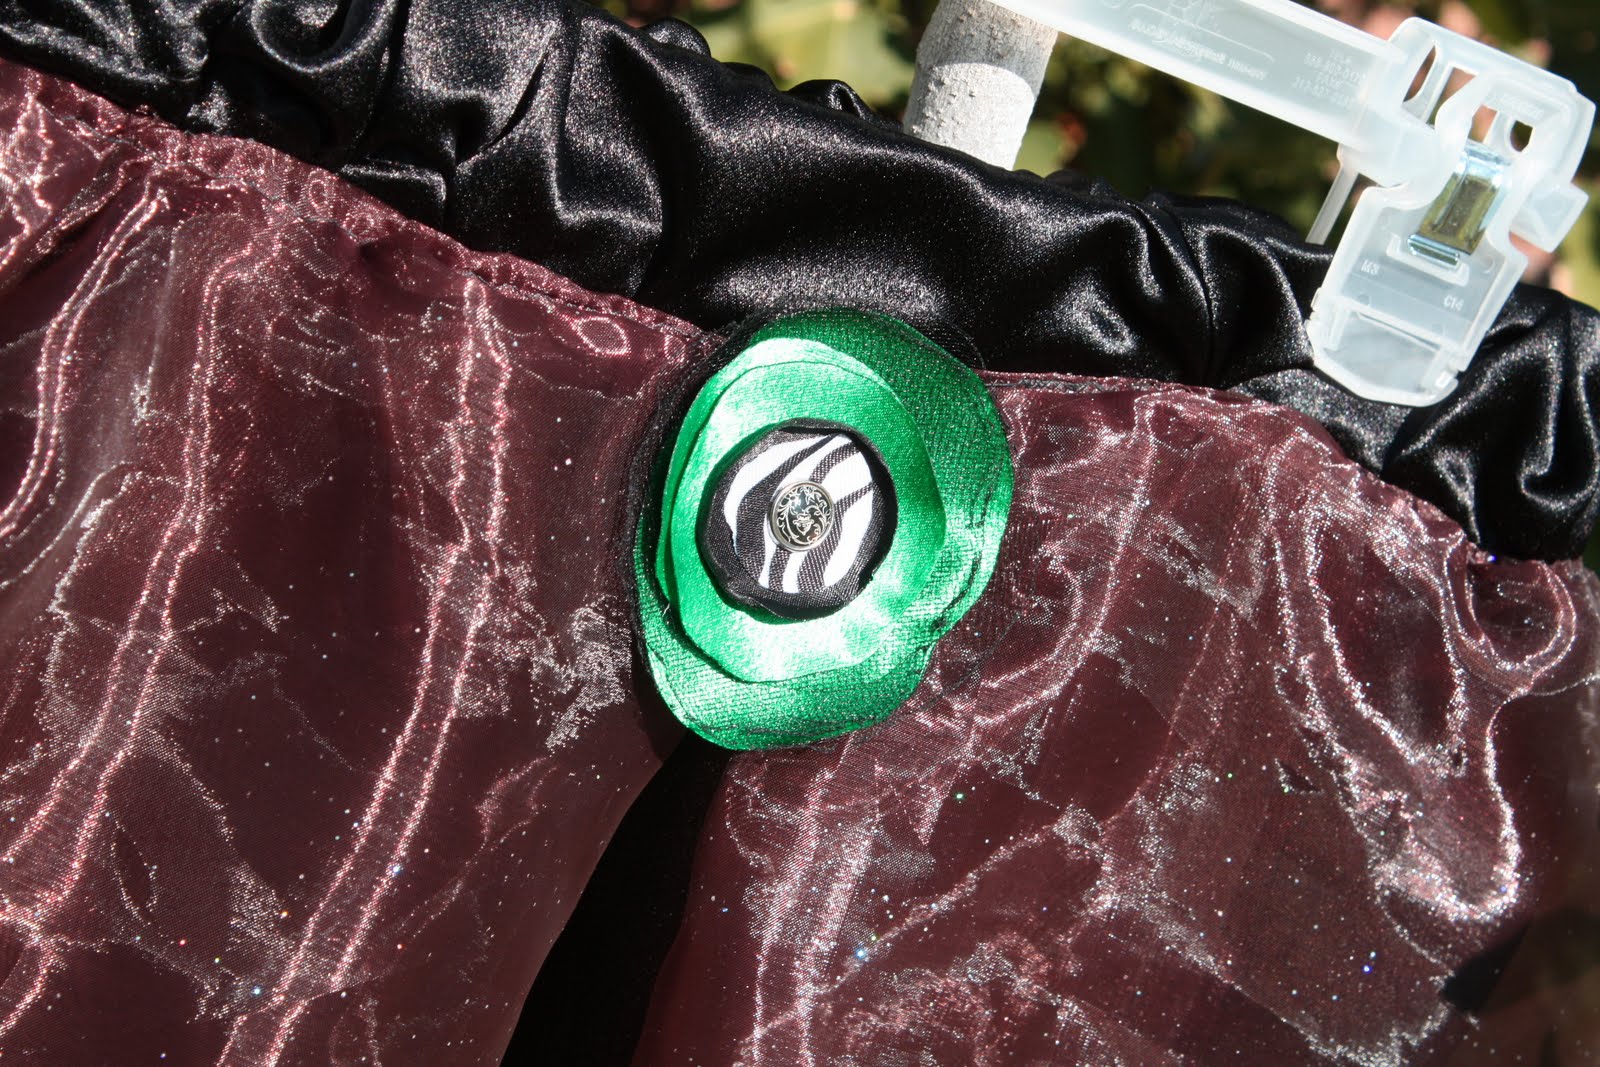
For my fair daughter my shirt became a short dress. I flipped it upside down and sewed in elastic that measured the length of her chest. Then I put it on her to decide where I wanted the elastic shoulder straps to go. I marked the right spot on the shirt. Then I wrapped the elastic shoulder straps in fabric that matched the shirt and sewed it in place the same time I sewed the straps to the shirt. I may or may not have used a little hot glue to hold the wrapped straps in place:) while sewing. Then I added to rolled flower rosettes in matching fabric to the the front of the shirt where the elastic straps met the fabric and simply pinned those on so I wouldn't have to worry about putting them in the wash. OH, I also hemmed over the existing hem a bit to make it fit the width of my daughter's body a little better. I cut off the shirt where the sleeves began an hemmed what was once the top of the shirt. (hem, flip and hem again). Then I added another skirt underneath for color and little extra length. This was a little trickier than adjusting my skirt.
The HEADBANDS are mad of stretch lace, rolled fabric flowers, paper flowers, glass buttons, flowers and decorative brads. Lisa and I made those.
Now these little outfits look so cute on my kiddos I thought: why did I not just adjust them to fit me? Oh well, live and learn:)
Happy Crafting!
xoxo,
Amy