A Dumping Ground For Good Ideas!

Everything That Makes A House A Home!


Showing posts with label little kids crafts. Show all posts

Thursday, June 28, 2012

Arts and Crafts for Kids: Painting with Condensed Milk and Food coloring

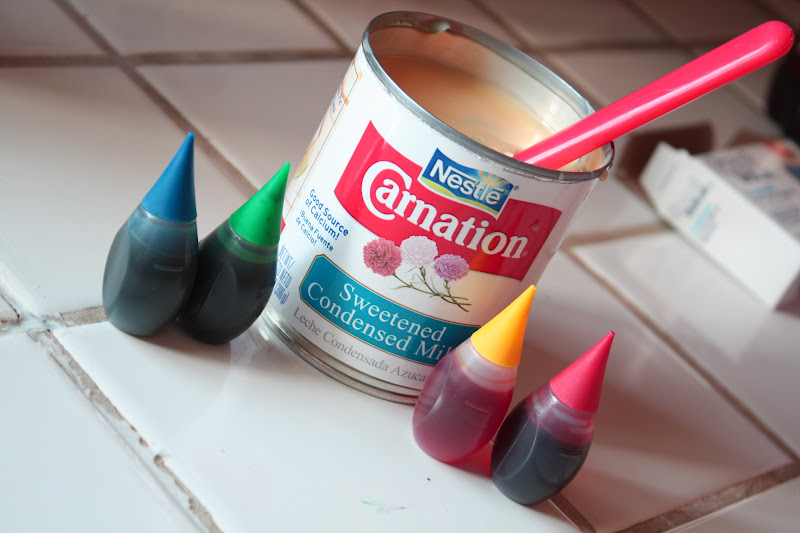
I love this project because it is completely non toxic and 100% edible, which is really good if you have a one year old who loved to bite and chew on everything! You only need four things:
* Food coloring
*condensed Milk
*Paper
* A paint brush or Q-tips
That is it . . . paint away! Your paintings will take a little bit of time to dry but when the dry they will be shiny!!


This is the one who eats everything!


This was  away fun project that kept the kids busy for a good long time!
Happy Crafting!
xoxo,
 Amy

Kid's Craft: Decorative Twine Vase

I just love how this little craft turned out. It radiates a rugged beauty and charm.
Kids crafts can totally be cute as well as fun!
This was was a lot easier than I though it was going to be.  I am going to tell you how we did it and you can adjust it to fit your needs. (You may want to use a bigger glass bottle, or you may want to boy it up by leaving off the ribbon and fill it with pencils instead of flowers.)
 This is what I used:
*One glass baby food jar. (I don't have a baby who eats baby food any more but all my kids still love to eat these little meat sticks. I save the jars and fill them with jello or use them for other crafts.)
 * A low temp glue gun and glue stick
* A roll of twine, twice the length of your forearm. I got mine at Walmart for $5.
* White ribbon
*Brad embellishment to put on center of the ribbon.

 I put a little dab of hot glue around the very top of the lid and started the first wrap of twine for my daughter. From there, she wrapped the twine around the little jar again and again, and again.
 She was very focused;)

 And very proud of her finished product. I added a little drop of hit glue to the bottom of the jar to secure the twine and a few drops of hot glue in between some of the spaces of twine and secured them together.
 We then tied a ribbon in a bow and I let my daughter carefully put a little drop of hot glue on the center of the ribbon so that we could add the embellishment.

 Ta-dum!
 I really do love how it turned out. I can imagine a shelf filled with vases of all different sizes covered in twine:)
Happy Crafting!
xoxo,
 Amy

Honeybear Lane - A craft for kids!

Hi my friends! I am so excited because today I am being featured on the amazing blog run by Heidi called  Honeybear Lane. It is truly an amazing site.
 Heidi is so creative and she has a wonderful eye for all things beautiful!
Head on over to Honeybear Lane and check out this great Kid's Craft Tutorial!
Happy Crafting!!
xoxo,
 Amy


Wednesday, June 27, 2012

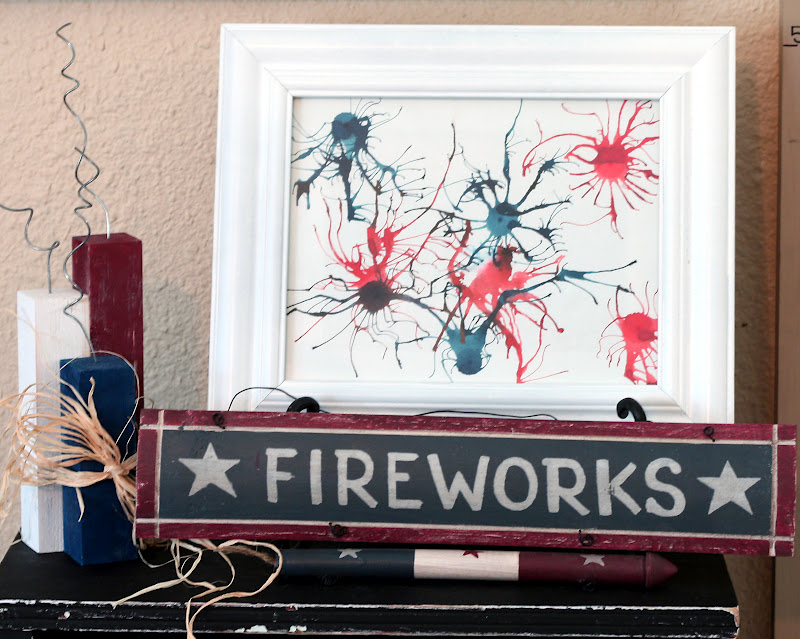
Arts and Craft for Kids: Making fire works with a straw and food coloring!!

This is from last year, but we just did it again and it was so much fun!!!


I think it is so fun to make children's art a part of your holiday decor! It is a good way to make them feel appreciated. 
 For this fun and easy non-toxic project you need:
food coloring
a straw for each child
piece of paper
The directions are simple. Drop two drops of liquid food coloring on your paper and then blow it with the straw!
 It is so fun to see what kind of splatter patterns are made. Even my one year old though this was fun although I did have to help her blow the food coloring a bit!


You can use whatever colors you want!

Happy Crafting!
xoxo,
 Amy

Friday, October 21, 2011

For Little Hands- Halloween Witches

Do your little ones need something to do . . .?
I love doing crafts with my kids. And that is a good thing because with 4 little ones running around I don't really have much opportunity to hide away and create beautiful things. Mostly, I craft with my motley crew by my side. I have noticed that my girls have the same need for creative activity as I do. The boy . . . not so much, though he does LOVE to paint.

This is one of the Halloween crafts we did together. We made little witches and turned them into a centerpiece for our table.
I'm sure you don't need step by step instructions on how to make these little witchies:
I used:
glue (hot and Elmer's- or a glue stick)
construction paper (or cardstock or scrapbook paper)
yarn
raffia
googly eyes
skewers
The silver star is from a Christmas garland that got cut up a little:)
Basically I just cut out easy shapes and let the little ones use there imaginations. What I love is how they each turned out so different even though they had all the same supplies. I love how your child's personality is displayed through their creative side.


This was a s simple as can be, but the kids loved it and they love even more that there art work is currently being featured as out centerpiece.


Happy Crafting!


xoxo, Amy