A Dumping Ground For Good Ideas!

Everything That Makes A House A Home!


Showing posts with label halloween crafts. Show all posts

Tuesday, October 30, 2012

Kid's Craft: Halloween Eyeball Wreath

In case you missed it . . . this is what I posted for the wonderful blog called, Honeybear Lane:


Today I want to show you how to make this "spooktacular" (yep, I went there!)  eyeball wreath with your kiddos! (I have to admit, even I got addicted to gluing eyeballs in place!)
Here's it is:
 What you will need:
Wreath form: I used a toy inner tube, but a foam pipe insulator would be perfect (Home Depot, Lowe's Ace)
googly eyeballs
black ribbon or scrap fabric (double the length of your wreath form)
Ribbon in orange to hang the wreath
black tulle (optional)
Elmer's Glue/ Tacky Glue or Hot Glue- any will work
Paint brushes (I used q-tips and poured the glue out on a piece of foil for the kids to dip)
Two Straight pins
 This is the foam pipe insulation that I referred to above. Form it into a circle with the slit on the outside and tape together.

Choose a starting point on your wreath and pin your fabric or ribbon into the foam. Wrap your fabric around the wreath form and pin in place.
 It should look like this so far . . .
 I wrapped a small piece of foil at the top of my wreath so that the kids wouldn't glue any eyeballs there because that is where the ribbon will be placed.
 As you can see we didn't dress up for this craft session . . .These are pictures of the kiddies, totally engrossed.
 f
 f
 f
 We added all the eyeballs we had at the time. Then I went to the store and added more. I also added a bit of ribbon to hang the wreath and a little black tulle to add texture.
Super easy and fun! I did this with my 5, 7 and 9 year old. They all loved it! Hope your little ones do too!

As always, It has been a pleasure!
Happy Crafting!
-Amy

Wednesday, October 17, 2012

Edible Kid's Halloween Craft: Monster Popcorn Hands!

 Time to celebrate the season by making spooky monster hands!You only need three things to make this treat!
 Grab your favorite little helpers and these items:
 Popcorn - Candy Corn - Vinyl Gloves
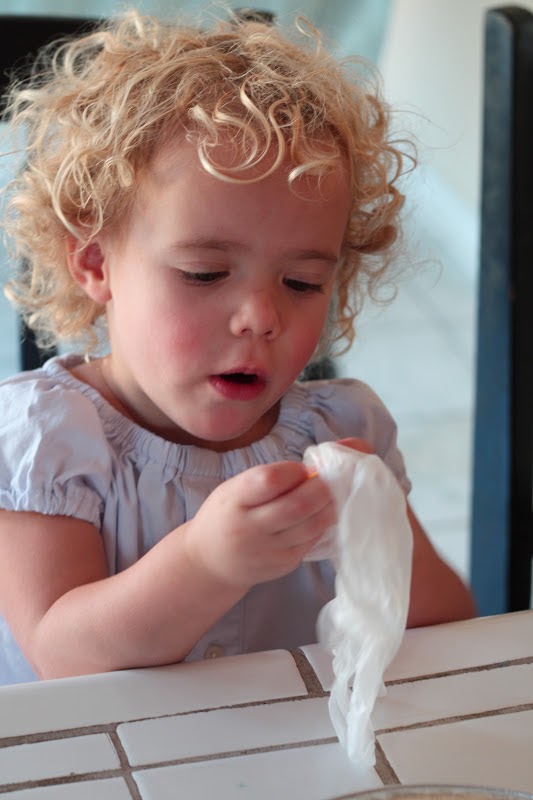
 Super easy . . . pop pop corn and let cool, pass out gloves, put some candy corn inside and have the kiddos shake them down . . . two or three may gather in the same finger hole, so space evenly.
 It should look like this: (love that smile)
 and that one too . . .
 Then add popcorn and shake it down into the finger holes as well. You might have to do a little crunching to get it to fit. Don't worry, it will be okay. Tie the top in a not or close it off with a bread tie.
 Enjoy . . .

 and be a little silly . .


Happy Halloween and
Happy Crafting!
XOXO,
 Amy

Halloween Kid's Craft: Make A Mummy, Frankenstein and A Jack-O-Lantern!

Decorate your house with cute creations made by little hands! Your little ones will love this activity! Even my two year old (who helped make the Frankenstein) tells everyone that Frank belongs to her! These are relatively simple to make. The kids did most of the work, but there was a little preparation before we began!
Here we go! 
Meet: Mummy, Frank and Jack!!!

 These really are so cute!
For all three, This is what you need: (Or see a break down below)
Three baby food glass jars (but jars of any size will do- even plastic!)
Emer's Glue or Mod Podge
Paint Brushes
Hot Glue Gun
Green, Orange, white and Purple Tissue paper, cut into thin strips the length of your jar
medical gauze
black felt
googly eyes
two push pins (painted black if you can't find black)
a black sharpie pen


you will also need some willing participants!
First, the Mummy:
I used:
baby food jar 
White tissue paper (pre-cut to size of jar) or medical tape
elmer's glue
paint brush
2 googly eyes
medical gauze
If you are using tissue paper, paint inside the jar with glue and then add white tissue paper. If using medical tape, tape the outside of the jar.

 Then add eyes with elmer's glue.
 Here are the kiddos painting the inside of the jar with glue before they stick the tissue paper to it.

 When eyes have dried add a little glue to the outside of the jar and wrap gauze to it.
 Your mummy will look lovely!

Next, Frankie!
I used:
baby food jar 
Lime Green tissue paper (pre-cut to size of jar)
elmer's glue
paint brush
2 googly eyes
Small strip of black felt (enough to be his hair)
2 push pins painted black
black sharpie marker for mouth and scar
Hot Glue


Paint inside of jar with glue and add green tissue paper. Make sure it sticks well to the side so you see nothing but green in the jar.

I cut the sharp part of the push pins off so I could hot glue the flat side to the jar ( maybe you can find something that doesn't need to be cut)

 Cut out hair to your desirable length and shape, I gave mine some jagged bangs. glue on your googly eyes, use sharpie to draw moth and scar!
 I love Frank!
 Lastly, we have Jack. The easiest one. 
I used:
baby food jar
orange tissue paper, pre-cut to the size of my jar
black felt, pre-cut eyes and mouth
 Paint glue onto the inside of jar and attach orange tissue paper to it. Let your child glue on the pre-cut jack-o-lantern face and let dry completely and you are done!
 g


Love these guys! I hope you do too! Happy Halloween!


Happy Crafting!
XOXO,
 Amy