A Dumping Ground For Good Ideas!

Everything That Makes A House A Home!


Showing posts with label vinyl. Show all posts

Saturday, October 15, 2011

How Tall Are You?

Growing up , there was a special wall in our house that was and still is covered in pencil markings. Not those of a wayward artist that ran out of paper but pencil markings that measure how tall we were over the years. Next to the thick, dark, straight pencil lines were names and dates of the person measured. It was always so fun to see how tall we were! I was the oldest and was always taller than my brothers growing up. But at some point every single one of them passed me by a foot! Now my kids stand next to the measuring wall so that we can record their height as they wonder if and when they will ever be as tall as their uncles.


There is just one problem with these special measuring wall s. . . what if you move? You lose those sweet markings forever! So I have a solution for you . . .


Ta-dah! You can make your very own personalized take-with-you-anywhere- you move- measuring stick!


You will need:


a 6 foot piece of wood


vinyl people, hash marks and numbers 2-7 (optional)


Your favorite color of paint


sand paper


I made these as gifts for the two sets of grandparents a few Christmas's ago. They both say that it is the first thing that people comment on when they walk in the door. Now I drew my little people by hand with a sharpie and then sent them to my friend, Kim who scanned them into her computer and then turned them into cute little vinyl stickers, but there are lots of places that you can order them on line (if you don't feel like drawing them). My friend also added numbers and hash marks for me, which were a pain in the rear to put on. You don't really need them if you just want to record height from year to year.


These are just a few of the 14 I drew.


That is what it will look like in vinyl form. I have two nieces who passed away so I drew them with angel wings and halos.


Paint and sand your measuring stick according to your liking . . . add your vinyl . . .


And there you have it! Instant cuteness to measure with!


All the cousins love to see how tall they are and "who" they are up too. The little ones love to name off all of the cousins on the stick. It is great fun all the way around, I promise!


Happy Crafting!


xoxo, Amy

Sunday, August 21, 2011

A New Twist On Tile- DIY

** Another headband will be given away to one of our followers as soon as we get 50!

Become a follower today!!

___________________________________________________________


Every year at Christmastime, my Grandma agonizes

over getting the perfect gift for every single member in our family,

which is over 60 people!

Not every one understands that when my grandma gives a gift she wants it to reflect the love and knowledge that she has of the person who receives the gift.

She wants her gift to bring a smile or a tear or

a heart felt chuckle.

She wants to please.

I think my grandma may enjoy giving the perfect gift more than getting the perfect gift.


I also find joy in gift giving. I also enjoy creating something that has yet to exist before:) Knowing that it may not surprise you to know that I love giving unique and personalized gifts.


With that in mind . . . I created this for a wedding gift!


I promise . . . this looked so dang good! You can totally make this!


The Material's I used: (mostly from Robert's, but you can get them I'm sure at Michael's or any other craft store)


Mini pop up dots


Hot Glue Gun


Two coordinating scrapbook papers


Modge Podge


Photo Corners- clear


Gold or bronze stamp ink
Paint Brush


Vinyl or stickers words "family"
small wooden heart


brown twine


scissors


Picture embellishments (old key and cameo key hole from Bo Bunny scrapbooking)


Tile: mine was 11.5 x 11.5 (my friend gave me a bunch of tile but I usually buy them at the Home Depot for less than $3.


Before you do anything . . . plan out your lay out . . . once you have done that:


1. First cut, your scrap book paper to match the size of your tile.


2. Use paint brush to spread modge podge all over tile.


3. Apply scrapbook paper and rub with a paper towel towards edges to release any air pockets.


Let dry completely.


4. Trace heart onto paper. I thought I was going to use both sides of this scrapbook paper, I ended up just using the polka dot side to trace my wood heart and cut out the paper.


This is the cut out heart.


5. Modge podge the cut out heart onto the wooden heart. smooth out with paper towel. Let dry.


6. Use twine to tie loosely around picture and around old key embellishment.
(you can also use ribbon instead of twine)


7. Apply vinyl or stickers to the top of the project (once it is all the way dry)


7 and a half:) : add photo corners to picture and then place it on the tile in desired location.


I used photo corners because this was the engagement picture we received in the mail. With photo corners they can switch out the picture however they want.


8. When the modge podged heart is dry and you


The edges of your heart should look like this:


9. I used a little tape to make sure the key hung where I wanted it too and then I added a little hot glue.


10. To give my heart a slight 3D appearance I applied the mini pop dots, I didn't know how well they would hold so I also added a little hot glue in the middle. In hind sight I would have moved the pop up dots away from the edges just a tiny bit more so they be completely invisible once the heart was mounted.


11.Mount on tile.


11. I added pop up dots and hot glue to the cameo and mounted that on the heart.


It should look like this:


12: I inked the sides of the tile and the edges of the paper, using a bit more on the corners.


13. Tah-dah! Done! ( oh yeah- I did put a little sticker down by the bottom of the key- it says "love." Tah- Dah! Now you are done:)


This is the other one I made for my daughter. I got the idea from a display at Robert's using canvas( I didn't have canvas so I used tile). You are only limited by the scope of your own imagination! Go forth and create!


Happy Crafting!


xoxo,


Amy


Monday, August 15, 2011

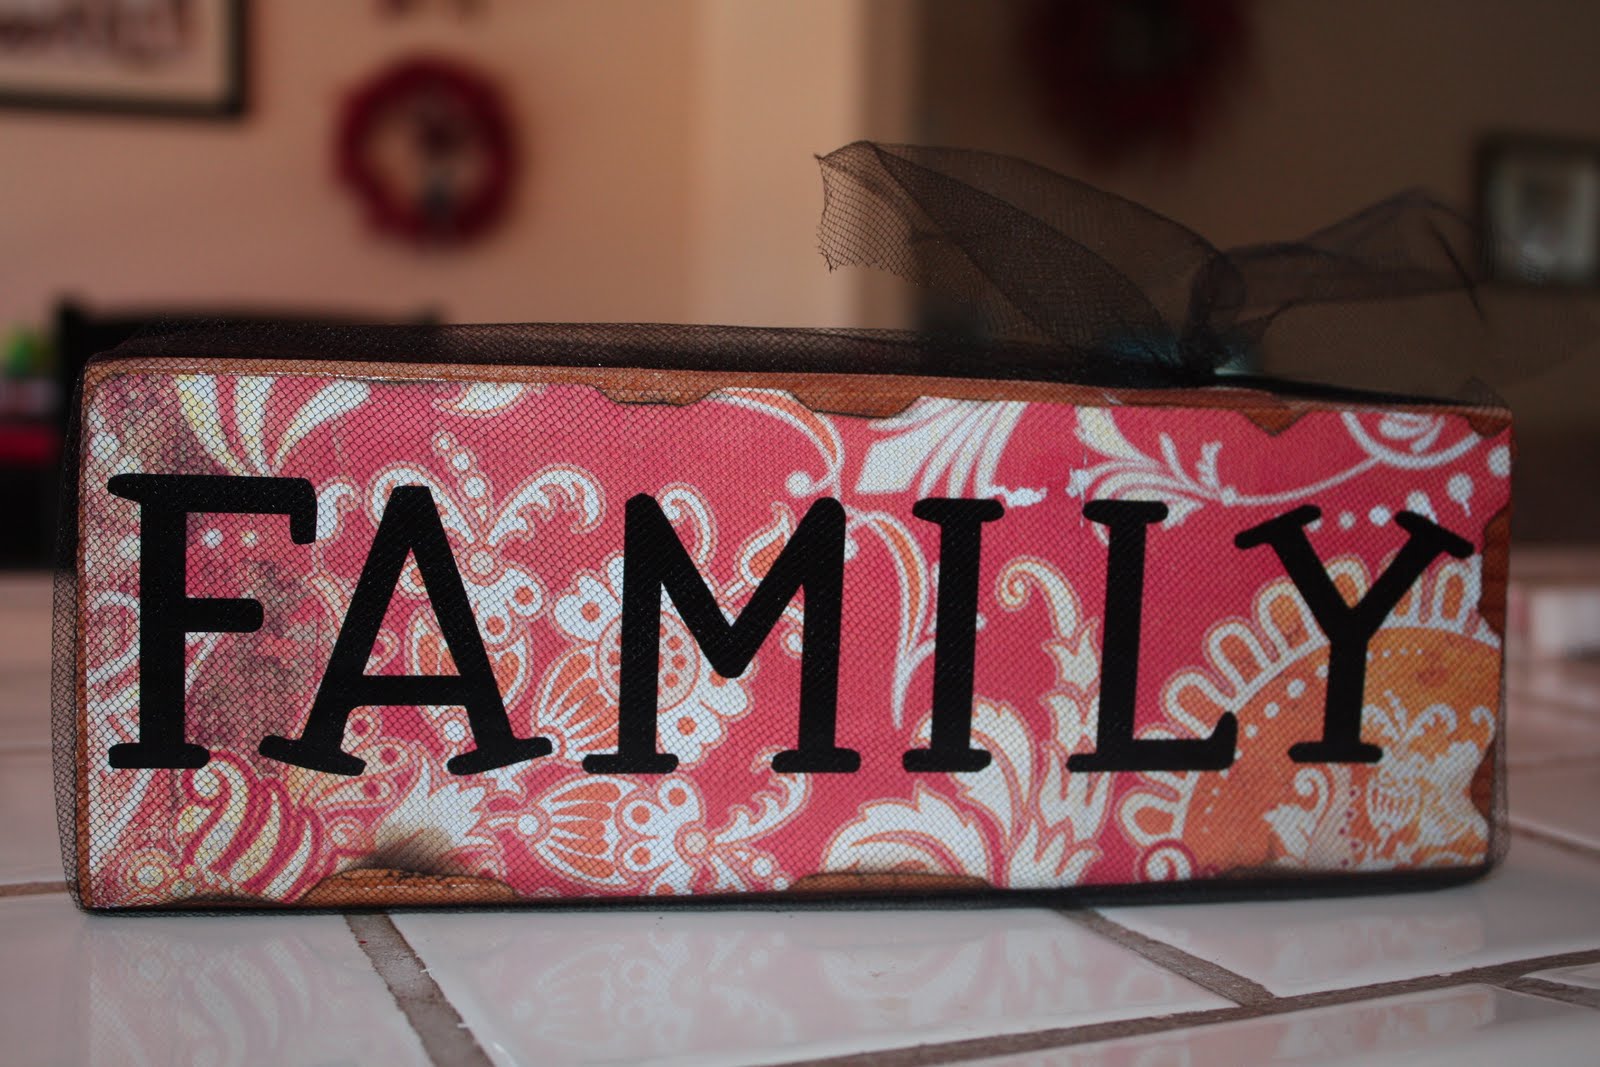
"Family" Solid Block Tutorial

Here is a preview of this super easy craft that YOU can make!


Even your little ones can do this.
You need the following supplies:
Modge Podge
paint brush
tulle
a wooden block (I got mine from my neighbors back yard and sanded it- and yes, I got permission)
vinyl or stickers (I used vinyl this time around)
matches
scrapbook paper

1. Measure the scrapbook paper to fit your wooden block


2. Lightly burn the edges (kids could omit this part) I used a candle because I couldn't hold a match and take a picture at the same time:) I'm not that talented!! You might have to put the edges of your scrapbook paper under water to extinguish the flame and stop the paper from burning. Sometimes it just keep smoldering.


3. Apply modge podge to the wood with your paint brush and apply the scrapbook paper.


4. I pressed the paper down with a paper towel to make sure to get any bubbles out.


5. Apply vinyl or stickers


6. Measure a length of tulle to wrap around the block.


(I used to pieces because mine had already been cut into strips to make a tutu. but if you are buying tulle for this project you can probably use one piece.)


Pull taught and tie around the back.


7. Wrap your second srtip of around the bottom and tie on the top.


Yahoo! You just made something cute to adorn yout home or give as a gift!

305